Leave Your Message

7 Tips for Choosing a Plate Sheet Polishing Machine

Choosing the right Plate Sheet Polishing Machine can shape your finish quality, production speed, and long-term operating costs. A polished surface may look simple, but its result depends on material type, sheet thickness, abrasive selection, pressure, and machine control. Stainless steel, aluminum, and carbon steel may require different polishing strategies. The wrong setup can leave visible swirl marks, uneven edges, or excessive heat damage.

Manufacturing quality expert W. Edwards Deming said, “Quality comes not from inspection, but from the improvement of the production process.” That principle applies directly to plate polishing. A reliable machine should deliver repeatable results, not merely correct defects afterward. Look closely at motor power, working width, feed speed, automation, dust control, and operator access. Service support matters too. A cheaper machine may become expensive when belts, rollers, or control parts are difficult to replace.

Real workshops are rarely perfect.

The following seven tips examine practical selection details. They cover your metal requirements, target finish, machine construction, abrasive compatibility, production volume, safety features, and supplier support. Consider a test polish before placing a large order. Measure the sheet afterward under consistent lighting. This small step can reveal scratches that casual inspection misses. I would not assume the most powerful Plate Sheet Polishing Machine is always the best choice. Excessive pressure may shorten abrasive life and distort thinner sheets. A thoughtful decision balances finish quality, throughput, maintenance, energy use, and future production changes. Mistakes still happen, but careful comparison makes them less expensive.
7 Tips for Choosing a Plate Sheet Polishing Machine

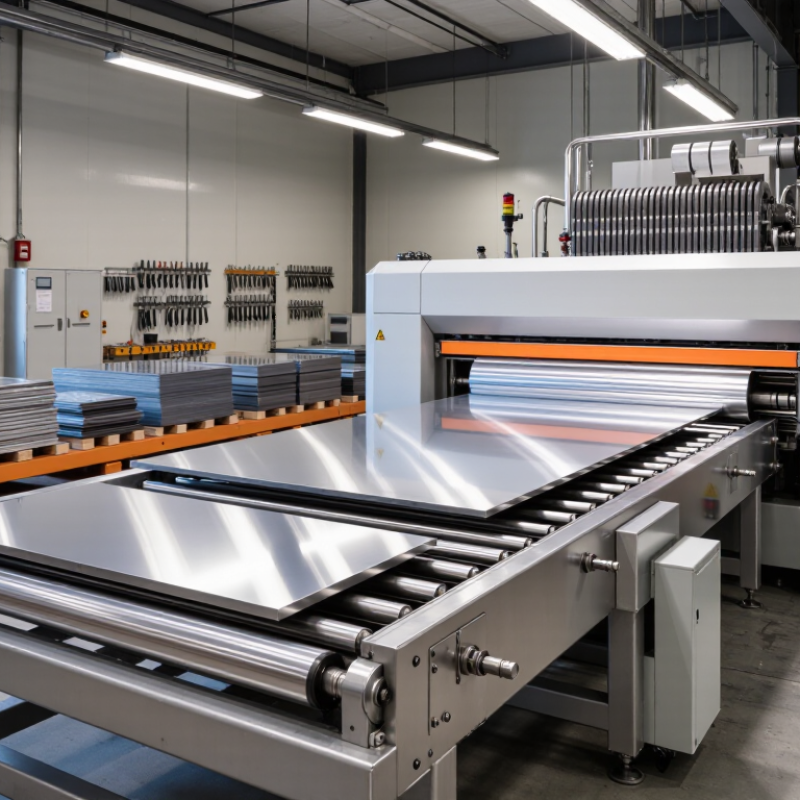
Define Plate Scope: Thickness, Width, Alloy, and Removal Rate (mm/min)

7 Tips for Choosing a Plate Sheet Polishing Machine

Tip 1: Define the plate envelope before comparing machines. Record minimum and maximum thickness, width, length, and weight. A machine designed for 3–20 mm plate may struggle with 35 mm material. Tip 2: Separate sheet and plate requirements. Thin sheets can flex under abrasive pressure, while heavy plate needs stronger conveying and clamping systems. Measure the real production range, not only the average order.

Tip 3: Identify each alloy. Carbon steel, stainless steel, aluminum, and nickel alloys remove material differently. Stainless steel may require controlled pressure to prevent heat tint. Aluminum can load abrasive belts quickly. The World Steel Association reported about 1.89 billion tonnes of crude steel production in 2023, showing the scale and variety of steel processing needs. However, global volume does not predict your workshop’s actual polishing behavior.

Tip 4: Specify the target removal rate in mm/min. Do not accept a speed figure without test conditions. Record abrasive grade, contact pressure, feed speed, and starting roughness. Tip 5: Run trials using your thickest and widest plates. Check edge rounding, flatness, temperature, and surface roughness after several passes. Faster is not always better.

Tip 6: Ask for stable removal across the full width. Tip 7: Confirm dust extraction and coolant compatibility. A neat sample can hide inconsistent results. I have seen trial data change after abrasive wear, which is easy to overlook. ISO 21920 surface-texture standards can support consistent roughness reporting, but operators still need practical verification on production material.
Set Finish Criteria: Compare Ra 0.8–1.6 μm Under ISO 21920

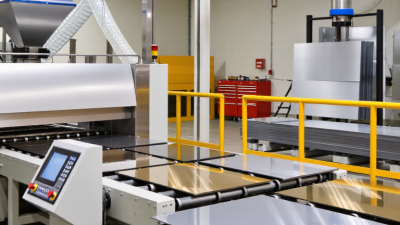
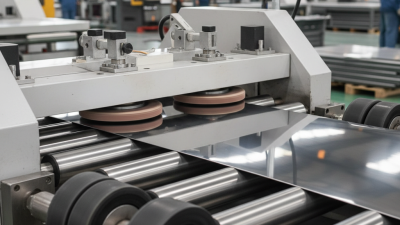
Choosing a plate sheet polishing machine starts with a measurable finish target. Set the criterion before comparing machine speed, pressure, or abrasive systems. For many stainless steel and alloy plates, an Ra range of 0.8–1.6 μm provides a practical comparison point. Do not treat this range as a universal requirement. The application decides the acceptable surface.

Measure Ra according to ISO 21920 practices, using the same cutoff length, evaluation length, filter, and measuring direction. A calibrated contact or optical instrument improves reliability. Measure across several locations, including the plate center, edges, and areas near visible grinding lines. Keep the setup consistent. Small changes can alter the result.

Check seven details: platen stability, abrasive control, pressure adjustment, feed speed, cooling, slurry removal, and operator access.

Ask for trial plates, not only brochures. Record Ra before and after polishing. A machine reaching 0.8 μm may still create waviness, heat tint, or directional marks. Ra alone cannot reveal every defect.

I have seen apparently smooth plates fail visual inspection because the measurement points were too limited. That mistake is easy to repeat. Review the data, inspect the surface under angled light, and question any result that looks unusually perfect.

Size the Line: Match Belt Speed, Motor Power, and Throughput (t/h)

Tip 1: Start with required throughput, not the motor label. In production trials, a line rated at 8 t/h may deliver only 6 t/h with damp, uneven sheets. Measure actual feed weight for one hour. Record stoppages, loading gaps, and rejected pieces. These details reveal the machine’s real capacity.

Tip 2: Match belt speed to surface condition and abrasive action. A faster belt raises output, but it can shorten polishing time. For heavy marks, slower travel often produces a more consistent finish. Make small speed changes, then inspect gloss, edge quality, and temperature. Do not trust appearance alone. Measure carefully.

Tip 3: Size motor power for belt load, contact pressure, and abrasive resistance. An oversized motor wastes energy and may hide poor alignment. An undersized motor struggles during starts or thick-sheet loading. Ask for power curves at your target load, not empty-belt figures. I prefer logged current readings from a trial run.

Calculate throughput from usable output. A simple estimate is belt load multiplied by belt speed, adjusted for uptime and rejects. For example, 1.2 t/h at 85% uptime becomes about 1.02 t/h. Check whether your site can feed continuously. The calculation is useful, but never perfect. Leave operating headroom, because grit buildup and material changes can reduce speed unexpectedly.

Verify Safety and Service: Check ISO 13849-1 Controls and Dust Capture

7 Tips for Choosing a Plate Sheet Polishing Machine

Safety verification should start with the control circuit, not the purchase price. Ask for a risk assessment showing the required Performance Level under ISO 13849-1. The supplier should provide validation records for emergency stops, guards, interlocks, and restart prevention. A safety relay alone proves little. BLS reported 3.0 recordable injury cases per 100 full-time manufacturing workers in 2023. That figure supports stricter machine selection, especially around rotating polishing heads. I would also test whether the machine stops reliably after power returns. Small oversights matter.

Dust capture deserves equal attention. HSE guidance HSG258 recommends capturing contaminants at their source, then checking airflow and system performance during commissioning. Look for a fitted hood, sealed ducting, accessible filters, and a visible airflow indicator. Ask for measured capture velocity, not a general statement such as “industrial extraction.” Under UK practice, HSE expects thorough examination of local exhaust ventilation at least every 14 months. Other jurisdictions may set different intervals. Verify the applicable requirement. Fine metal dust can settle on ledges, inside cabinets, and around motor housings. It may be missed during a quick demonstration. I would inspect those areas before approval, then repeat the inspection after production begins. The first choice is rarely perfect. Review it honestly.

Prove Value: Compare kWh/t, Consumables, Uptime, and Test-Plate Results

Choosing a plate sheet polishing machine should begin with measured value, not glossy demonstrations. Ask for kWh per ton under your actual plate thickness, material, and finish target. A low energy figure may hide slower feeding or extra passes. Record the result on your own production line.

Tip: Compare consumables by cost per finished ton. Track abrasive life, wheel replacement, coolant use, and disposal. Small losses become significant after thousands of tons. My first estimate once ignored setup waste, and the final cost was noticeably higher.

Tip: Check uptime through service records, not promises. Ask how often operators stop for adjustments, cleaning, or alignment. Measure planned and unplanned downtime separately. Then request test-plate results using your material. Inspect roughness, flatness, edge condition, and visible polishing marks under consistent lighting. A machine may produce a bright surface while leaving uneven texture. Include several plates, because one successful sample proves very little. Operators should also record feed speed, pressure, and pass count. These details make comparisons fairer. Leave room for doubt; test results can change with temperature, plate geometry, and operator technique.