What Is a Belt Sander Machine Used For?
A belt sander is a power tool for removing material quickly from broad, mostly flat surfaces. In woodworking, it can level a tabletop, smooth a rough board, or soften a sharp edge before finishing. The phrase “Belt Sanders Sander Machine” may appear in product searches, but the useful question is what the tool can do—and where it can cause trouble. Its moving abrasive belt cuts faster than hand sanding. That speed saves time. It also leaves little room for careless pressure.
A typical job starts with a securely supported workpiece and an abrasive grit suited to the task. Coarse belts remove material fast; finer grits help reduce visible scratches. Keep the sander moving with the grain, and let the belt do the work rather than forcing it down. A brief pause can leave a hollow or burn mark. Dust collection matters, too, since sanding creates fine particles that can irritate the lungs and settle across a workshop. Wear appropriate eye and respiratory protection, and follow the tool maker’s instructions. Belt sanders are not ideal for every detail or delicate surface. Honestly, it can be tempting to use one everywhere. That is worth reconsidering. This guide explains common uses, setup choices, safe handling, and the limits that help you get a cleaner result.
Core Function of a Belt Sander Machine
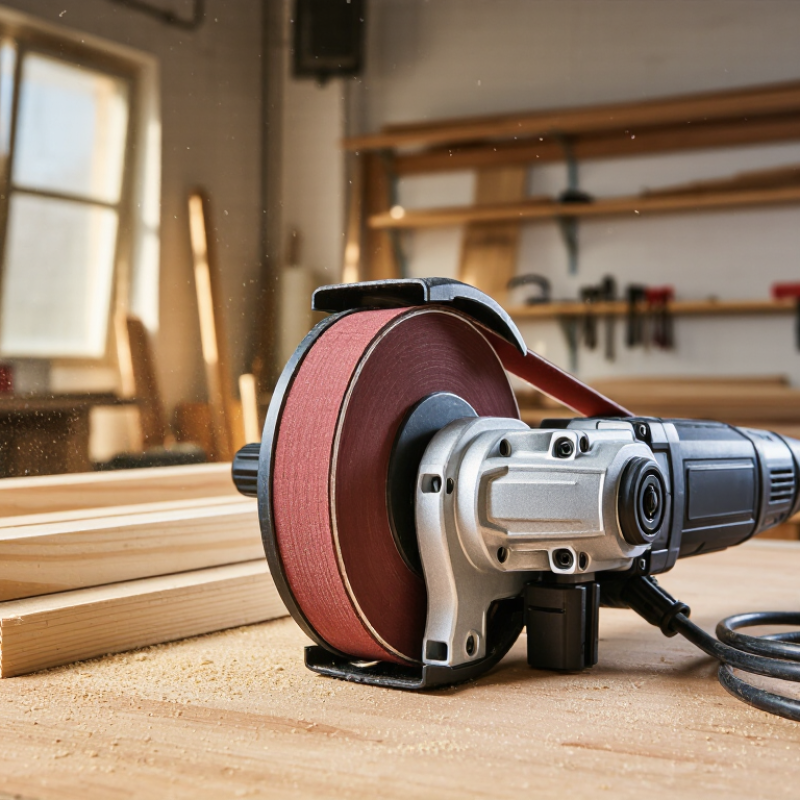
A belt sander machine uses a continuous abrasive belt to remove material from a surface. The belt travels around two rollers, creating a broad sanding area that works faster than hand sanding. Its core function is to flatten, smooth, or shape material through controlled abrasion. On a rough wooden board, it can reduce raised grain, level a glued joint, or soften a sharp edge. It is most commonly used on wood; other materials require a suitable belt and a machine designed for that work. Keep it moving. Holding it in one spot can leave a dip.
In practical use, the operator chooses a belt grit to match the task. Coarser belts remove material quickly, while finer belts help refine the surface. Start with light pressure and make steady passes along the workpiece. Check the surface often, especially near corners and edges. A common workshop mistake is sanding one area longer because it still looks uneven; the result may be a low spot that is hard to correct. Dust collection matters, too. Fine sanding dust can spread across a bench and settle on nearby surfaces. The machine does not replace careful inspection: changing grain, dents, and uneven pressure can all affect the finish.
What Is a Belt Sander Machine Used For?
A belt sander removes material quickly from flat surfaces, helping with rough shaping, leveling, and smoothing. This chart shows common FEPA “P” abrasive grit designations and their typical sanding stages.
Lower grit numbers indicate coarser abrasives for faster stock removal; higher numbers indicate finer abrasives for smoothing. Results vary with the material, belt, and sanding technique.
Materials and Surfaces a Belt Sander Can Work On
What Is a Belt Sander Machine Used For?
Materials and Surfaces a Belt Sander Can Work On
A belt sander is best suited to broad, fairly flat surfaces that need quick material removal. On solid wood, it can smooth rough boards, level glued panels, and reduce stubborn high spots. Use a coarse belt for rapid shaping, then switch to a finer grit to soften the scratches. The tool works fast. That speed can also remove more wood than intended.
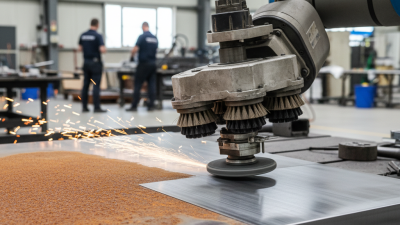
Plywood can be sanded, but its thin outer veneer needs a light touch. Keep the machine moving and avoid lingering near edges, where the veneer can wear through. Belt sanders can also abrade metal when fitted with a suitable belt. Secure the workpiece firmly, and keep sparks and metal dust away from combustible materials. Check the tool and belt instructions before changing materials.
Some surfaces are poor candidates. Thin plastic may soften or melt from friction, while curved details and narrow corners are hard to control with a wide belt. Painted or coated surfaces deserve extra caution: sanding unknown finishes can create hazardous dust. A vacuum attachment and a well-fitted respirator help control ordinary sanding dust, but they do not make every coating safe. Test an inconspicuous area first; even then, the finish may behave differently across the same piece.
Common Shaping, Smoothing, and Finishing Tasks
A belt sander is useful when a surface needs more than a light touch. Its moving abrasive belt can shape rough boards, reduce uneven edges, and smooth wide, flat areas. For example, a workshop table with a raised seam may become level after several light passes. Keep the sander moving with the grain, and check your progress often. Pressing harder rarely helps. It can leave dips that are difficult to remove.
For finishing, start with a coarser belt to remove marks, then switch to a finer grit for a more even surface. Each pass should overlap the last slightly. Small details matter. Belt sanders work quickly, but they can round sharp corners or remove too much material near an edge. That is easy to miss when focusing on the broad surface. Use a hand sanding block for tight spots, and wear eye and hearing protection. Dust collection helps, though fine dust may still settle nearby. A test piece can reveal whether your chosen grit leaves scratches before you work on the finished part.
How Belt Sanders Are Used in Woodworking and Construction
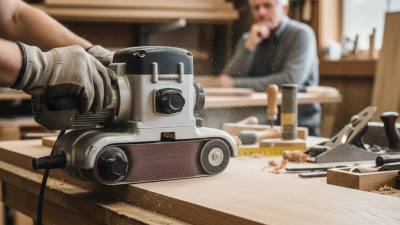
A belt sander removes material quickly, making it useful when woodworking calls for more than a light finish. In a workshop, it can level rough boards, smooth glued panel edges, or bring a tabletop closer to an even surface. A stationary model can hold small pieces steady, while a handheld model travels across larger boards. Keep the belt moving with the grain and use light, even pressure. Pause often to check the surface; a few seconds in one spot can leave a dip. It happens easily.
On construction and renovation jobs, portable belt sanders can smooth door edges, trim, stair parts, and broad wooden surfaces. They may also help remove old finishes, but check the material first: coatings can create hazardous dust. Connect dust collection when available, wear suitable eye and respiratory protection, and secure the workpiece before sanding. Dust matters. Use a coarser belt for substantial removal, then switch to a finer grit to reduce scratches before finishing. A belt sander is not ideal for corners or delicate details, and it can leave visible sanding marks if handled carelessly. I still find that test passes on scrap are worth the extra minute, especially when the wood grain changes direction.
Selecting a Belt and Setup for Each Task
A belt sander works best when its belt matches both the material and the amount of stock you need to remove. For rough, uneven boards, a coarse belt around 60 or 80 grit can level high spots quickly. It removes material fast. Move steadily, and keep the tool flat to avoid dips or rounded edges. For refining a surface, switch to 100 or 120 grit. Finer belts remove less material, but they can still leave visible marks if you rush.
Choose the abrasive for the work, too. Aluminum oxide is a practical option for many wood-sanding jobs, while other abrasive types may suit harder materials better. Check the belt’s direction arrows before fitting it, if present, and make sure it sits centered on the rollers. Unplug the machine before changing belts. Secure the workpiece, connect dust collection where available, and test your setup on scrap wood. A small test can save a whole board.
Let the belt do the work. Pressing hard can overheat the surface, wear the belt unevenly, or create grooves near an edge. Keep the sander moving with the grain for the final passes. Corners need care. I still find it easy to linger too long on one spot, especially when a mark looks almost gone. Stop, inspect the surface under good light, and change grit only when the remaining scratches justify it.